How to install PC DOS 1.10 on DOSBox?
In the last tutorial, we saw how to install PC DOS 1.10 on 86Box. We also introduce PC DOS 1.10 in that tutorial. If you want to know background information about PC DOS 1.10, I suggest you to read that tutorial. In this tutorial, we are going to use PC DOS 1.10 on DOSBox. DOSBox already emulates DOS, but we can use it to install a different version of DOS also.
You need to download the following file to follow this tutorial:
Note
This tutorial includes screenshots taken using a SVN build of DOSBox. But, I have verified this tutorial to work on release version of DOSBox too. You can use either of them. Note that DOSBox-staging and DOSBox-X are different for DOSBox and don't work for this tutorial. For DOSBox-X, see this tutorial. I will post another tutorial for DOSBox-Staging soon.
Creating the Virtual Machine
If you have not already installed DOSBox, you can visit out tutorial on how to do so on windows. On Linux, you can just install the dosbox package on your favourite distribution.
Create a folder where you will store all the files related to this tutorial. Extract the PC DOS 1.10 archive and open the extracted folder. Go to the images folder inside it and open the Raw folder. Copy the file called DISK01.IMA to the VM folder. You may want to rename it to something like PCDOS1.10.IMA to avoid confusion later.
Now copy the default DOSBox config file to this folder. You can see this page to know where the file exists on you system or you can download it from here. Rename it to something suitable such as pcdos1.10.conf and open it in your favourite text editor.
Add the following line to the end of that file:
IMGMOUNT a PCDOS1.10.IMA -t floppy
boot -l a
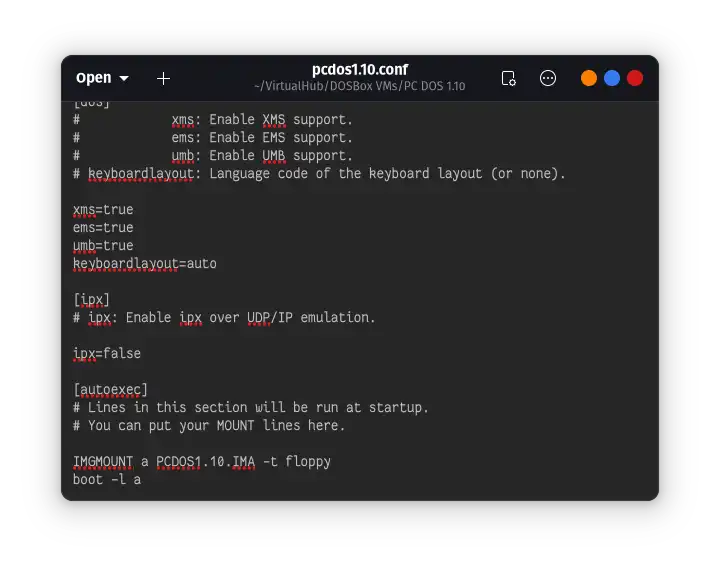
Save and close the file. Open a terminal/command prompt and navigate to that folder. Now run DOSBox:
dosbox -conf pcdos1.10.conf
On Windows, you may need to add the path to DOSBox before this command if you have not added it to the PATH environment variable. So the command would likely become:
"C:\Program Files (x86)\dosbox-0.74-3\dosbox.exe" -conf pcdos1.10.conf
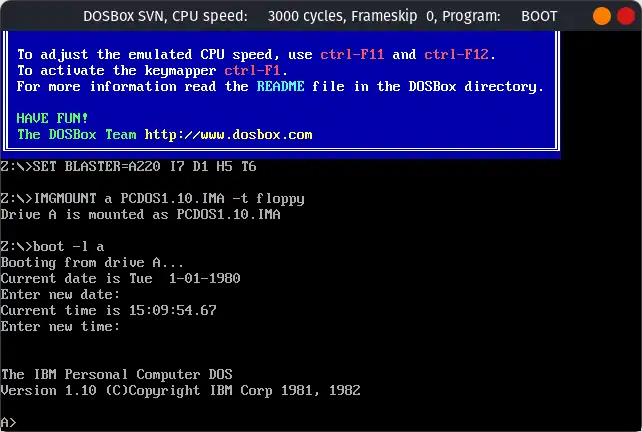
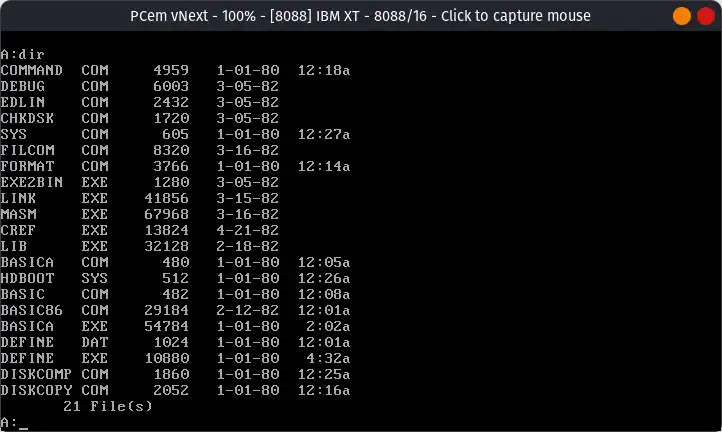
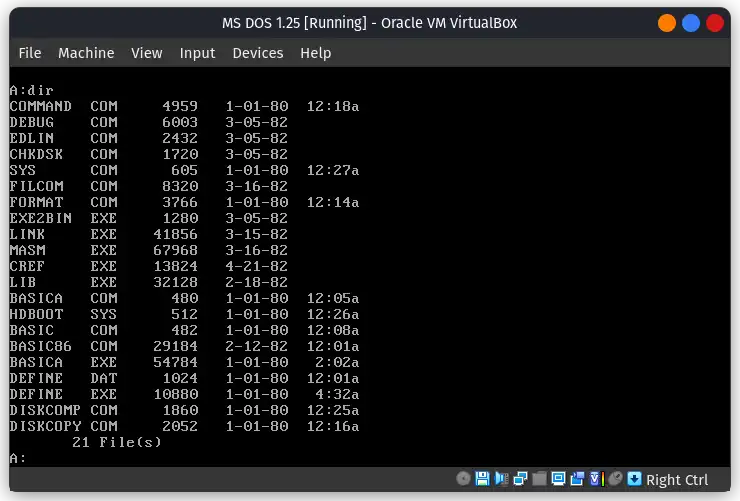
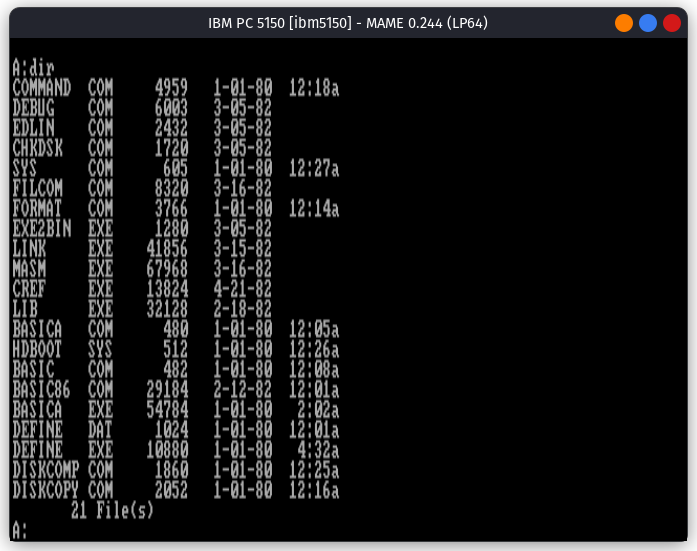
The DOSBox program will open and boot PC DOS 1.10:
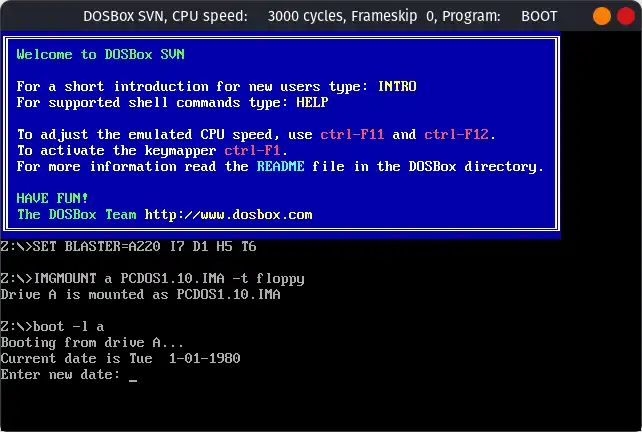
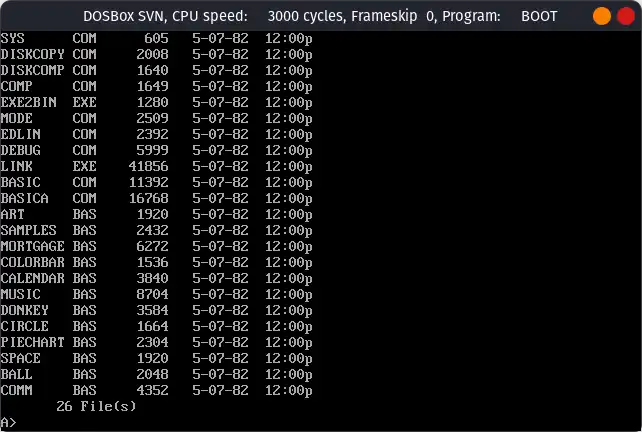
When asked for Date and time, just press enter. Do not enter anything. MS DOS 1.25 has problems with dates later than year 2000, so it is best to leave the default date set. You can enter the DIR command to see the list of files:
You can now close that window. Now we will create a script to launch the VM. On linux create a file called PCDOS1.10.sh with the following lines:
#!/bin/bash
dosbox -conf pcdos1.10.conf
Then make the script executable by running the following command in terminal after navigating to that folder:
sudo chmod +x ./PCDOS1.10.sh
Then we can right click on that file and click on Run as Program to open the VM. Some DEs and distros may have other methods of running shell scripts.
On Windows, create a file called PCDOS1.10.bat in that folder with the following contents:
"C:\Program Files (x86)\dosbox-0.74-3\dosbox.exe" -conf pcdos1.10.conf
Then double click on that file to launch the VM.
That's it. We used PC DOS 1.10 on DOSBox. You can now close the VM window. The next time you start it, you do not need to insert the disk file again. PC DOS 1.10 will start without any problem. Read the manual linked below to learn more about PC DOS 1.10. You can also read the MS DOS 1.25 manual which I posted in its tutorial, since they both are almost same.
Manuals
You may also want to read the IBM PC manuals. IBM PC DOS 1.10 was meant to be used on the IBM PC and the above manual refers to the IBM PC manuals many times. The following are the IBM PC manuals:
You can also read the IBM PC XT manuals:
You can read a lot more manuals related to IBM PCs and many other software and hardware at www.minuszerodegrees.net and www.bitsavers.org/pdf/.
Related Pages
- WinWorld page
- Wikipedia
- PCjs page - Run PC DOS 1.10 in you web browser
- BetaWiki page
- OS/2 Museum Page
- The IBM PC's debut - IBM Archive
- Some related YouTube videos:
Credits
- The DOSBox emulator is an open source project hosted on Sourceforge. Visit its website to know more.
- The disk image used above was taken from WinWorld.

Comments